Introduction
A cracked kitchen tile can spoil a clean floor or splashback, yet replacement does not require disturbing nearby pieces. Careful preparation protects grout lines, cabinets, waterproof layers, and adjoining surfaces. The safest method removes the damaged section in small pieces, rather than forcing it upward. Correct tools also reduce vibration and accidental chips. With patience, homeowners can restore a neat finish while preserving the surrounding layout, colour pattern, and surface level.
Assess the Damage First
A hairline fracture may affect only the glaze, while a wide split can reach the tile bed. Skilled installers check for movement, hollow sounds, moisture marks, and loose grout. For homeowners who need to fix cracked kitchen tile in Auckland, local conditions can influence material choice and curing time. A proper assessment also confirms whether the replacement matches thickness, finish, size, and slip rating.
Gather Suitable Tools
Useful equipment includes safety glasses, gloves, a grout rake, painter’s tape, a small hammer, and a sharp masonry chisel. A drill with a tile bit helps create controlled openings. Replacement adhesive, matching grout, a notched spreader, and a rubber float complete the basic kit. Clean tools create steadier cuts, while blunt edges increase pressure and transfer shock into neighbouring pieces.
Protect the Adjacent Surface
Remove loose items from the work area before covering cabinets, benchtops, or flooring. Painter’s tape placed along each grout joint helps protect exposed edges from scratches. A firm drop cloth catches fragments and limits dust. Cabinets should receive extra padding because falling shards can mark laminate, timber, or painted panels. Good lighting also reveals small chips before they become larger breaks.
Remove the Grout Joint
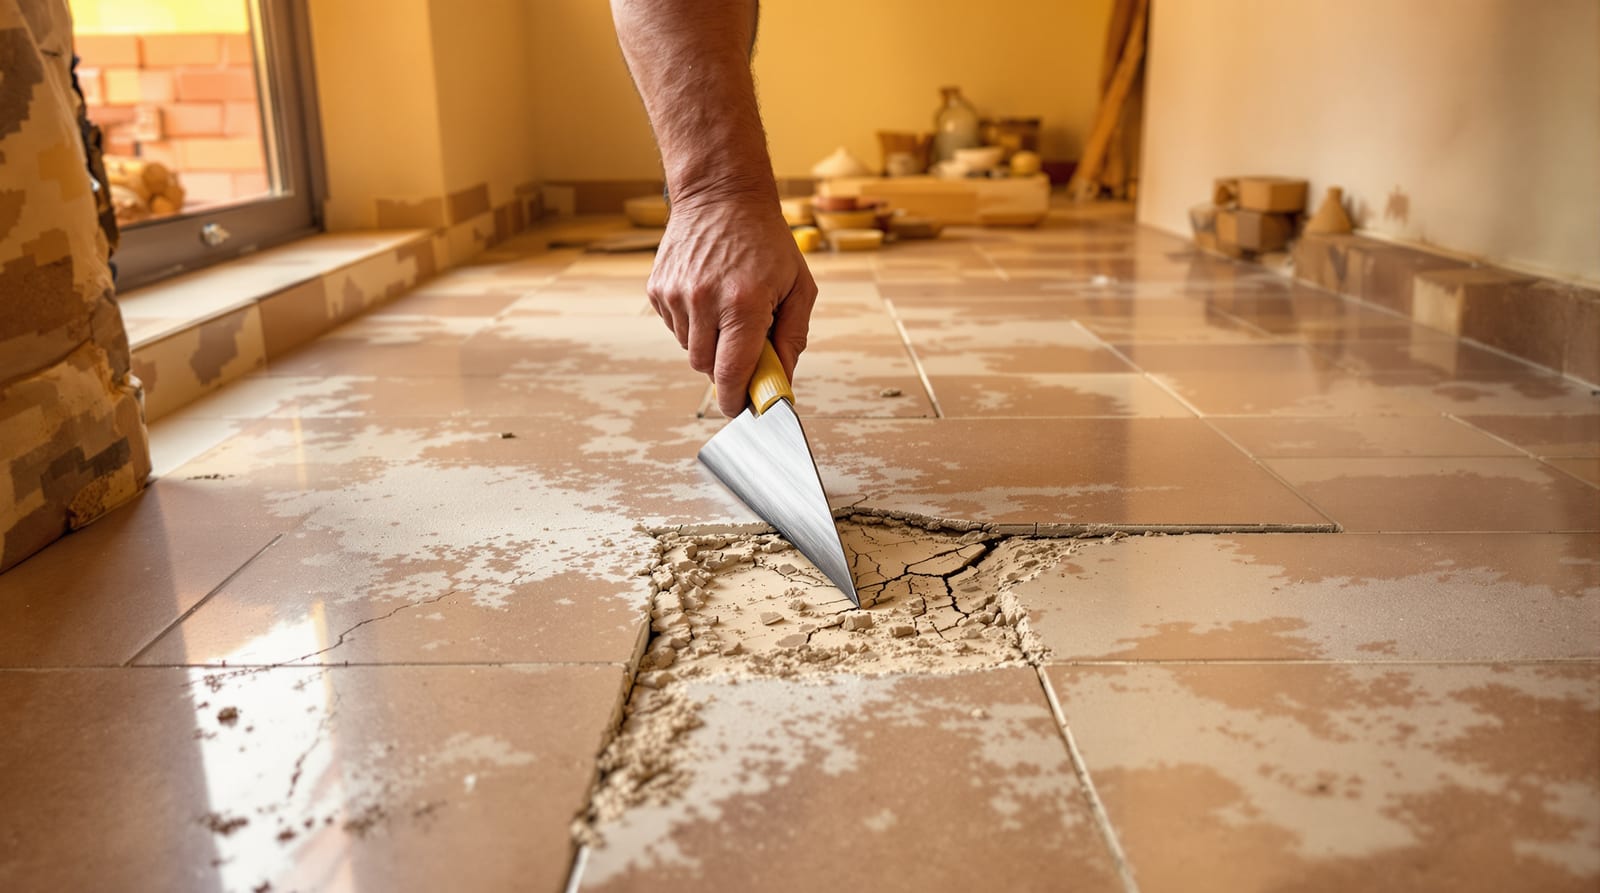
The grout surrounding the damaged unit must come out first. A manual rake gives strong control near delicate edges, while an oscillating tool can speed work across longer joints. The operator should stop once the joint reaches the substrate. Cutting too deeply may damage waterproofing or underlay. Complete removal creates a visible gap, allowing the broken section to separate without pulling neighbouring pieces.
Break the Centre
Drill several holes inside the cracked area, keeping them clear of the edges. Each opening weakens the centre and gives the chisel a safe starting point. Light hammer taps should move from the middle toward the corners. Small fragments are safer than large pieces because they require less force. Heavy blows can transmit impact through the adhesive and crack an adjoining surface.
A Controlled Removal Sequence
After the centre has been cleared, the remaining border should be lifted inward. The chisel angle must point away from nearby units. If resistance continues, another hole can reduce tension. Prying against an adjacent edge is unsafe because glazed corners chip easily. A vacuum removes dust between stages, exposing leftover adhesive and hidden fractures before fitting begins.
Clean the Base Carefully
Old adhesive should be scraped flat with a stiff blade. Uneven ridges can leave the new piece higher than its neighbours. Moisture or mould requires attention before fresh bonding material is applied. The substrate must become dry, firm, and free from grit. Excessive grinding can weaken the backing, so shallow passes are safer. A straightedge checks whether the surface sits level.
Fit the Replacement Dry
The new unit should be placed into the opening without adhesive. This test confirms spacing, orientation, and height. Small adjustments are easier before bonding begins. A matching spare from the original batch usually gives the closest colour, although lighting can alter visual results. If the fit feels tight, the edges should be eased carefully rather than forced into position.
Apply Adhesive Evenly
The bonding compound should suit the tile material and kitchen location. A thin, even layer on the base prevents hollow spots beneath the replacement. Back-buttering may help with larger formats, provided the combined thickness remains consistent. The piece should slide into place with gentle pressure. Excess material must be removed from the joints before it hardens.
Regrout and Check the Finish
Grout belongs in the joints only after the adhesive has cured according to its label. A rubber float presses material into each gap without scratching the face. Excess residue should be wiped with a lightly damp sponge, followed by a clean polish once dry. The finished section needs inspection for lippage, open gaps, colour variation, and movement under light pressure.
Prevent Future Cracks
Heavy impacts, shifting cabinets, and movement beneath flooring can cause repeat damage. Felt pads under movable furniture reduce concentrated force. Flexible sealant suits changes at cabinet edges or wall junctions better than rigid grout. Spills should be dried promptly where porous backing exists. Periodic checks around joints can identify movement early, before another replacement becomes necessary.
Conclusion
Replacing one cracked kitchen tile is achievable when pressure stays inside the damaged area. Grout removal, centre drilling, inward breaking, and careful base preparation protect nearby surfaces. A dry fit confirms alignment before adhesive locks the piece in place. Matching grout and patient cleaning complete the repair. If the substrate moves, moisture remains, or several units show damage, a qualified tiler can identify the underlying cause and prevent repeated failures.